Difference between revisions of "Manga Screen 1"
| Line 11: | Line 11: | ||
Here is what Rev A3 looks like: | Here is what Rev A3 looks like: | ||
<div class="res-img"> | <div class="res-img"> | ||
| − | [[File: | + | [[File:Front cropped.jpg|center]] |
</div> | </div> | ||
== Where to buy == | == Where to buy == | ||
Latest revision as of 10:08, 29 September 2022

Manga Screen is a 4.3" LCD screen with a capacitive touch panel and an HDMI input.
If you have a Beaglebone black, a Raspberry Pi or (eventually) an Arduino Tre or any other embedded or personal computer with a DVI or HDMI output, you can attach a Manga Screen to it and it will work like a normal screen.
The resolution is high for such a small screen with 800x480 (WVGA) and the capacitive touch screen driver used is the fabulous FT6206.
Here is what Rev A3 looks like:

Contents
Where to buy
It's sold out :( There was a Kickstarter campaign in Q1 of 2014. Once that was delivered a new batch was created. The second batch has also been sold out, but unfortunately, the LCD has now gone out of production. Therefore a new revision is under way, bigger and better!
If you have mad skills with a solder iron, you can make one.
For the latest production files, have a look at the repository:
https://bitbucket.org/intelligentagent/manga-screen
Cables
HDMI
The HDMI connector on the screen is a type D (micro) https://en.wikipedia.org/wiki/HDMI#Connectors
Raspberry Pi and almost all computers have type A connectors, so Type A to D are very common and can be found in most computer and electronics stores.
Some dev boards, like Odroid and BeagleBone Black use a Type D connector. These are more difficult to find, perhaps because they are so hard to google for. Try it and you will see: )
Anyway, I have found one supplier on AliExpress: http://www.aliexpress.com/item/The-New-1M-Micro-HDMI-Male-to-Micro-HDMI-Male-Type-D-to-Male-D-Cable/32261330416.html
They break easily, so order multiple!
I've also found one on TVC-mall, but it's not been tested extensively yet:
http://www.tvc-mall.com/details/Gold-Plated-1080P-1.4-Version-Micro-HDMI-to-Micro-HDMI-Cable-1M-3.28FT-PCA-4136/
There is also this American source:
http://www.mycablemart.com/store/cart.php?m=product_detail&p=6052
If you need a cable NOW to test that stuff is working, a lot of stores have HDMI male A to male D, and then female A to male D, so that is an option if you are in dire need of a working setup.
USB
The USB connector on the screen is of type mini. It can be purchased in just about every cheap charley like store.
Getting started
Manga Screen should give you at least some output on most platforms. The LCD was actually made for a cell phone, so the resolution is by default 480 x 800 px. Most people would then want to rotate the screen so it is in landscape mode.
If you also have a BeagleBone Black, get the Kamikaze Image or a recent image from the official pool: [1].
Raspberry Pi
Screen rotation
If you have a Raspberry Pi, you will need to override the settings manually to get the right rotation and resolution. Look at the config page for Raspberry Pi, the section called "custom mode" for HDMI: https://www.raspberrypi.org/documentation/configuration/config-txt.md
Edit the config file:
sudo nano /boot/config.txt
Add this to the end of it:
hdmi_force_hotplug=1
config_hdmi_boost=4
overscan_left=24
overscan_right=24
overscan_top=16
overscan_bottom=16
disable_overscan=0
display_rotate=1

hdmi_cvt=480 800 60 6
hdmi_group=2
hdmi_mode=87
hdmi_drive=2
Touch panel rotation
In Raspbian, you should swap the axes if you have rotated the screen. Here is what the calibration file should look like:
sudo nano /usr/share/X11/xorg.conf.d/99-calibration.conf
Put this in there
Section "InputClass"
        Identifier      "calibration"
        MatchProduct    "Intelligent Agent CDC and Digitizer"
        Option  "SwapAxes"      "1"
        Option "InputX"      "1"
        Option "InputY"      "0"
EndSection
Change SwapAxes, InputX and InputY to so your touchpanel matches your screen rotation. Set them to either 1 or 0
This should be the starting point for any touch screen calibration using xinput_calibrator. If SwapAxes is not set, the calibrator will restart with "mis-click detected warning".
Alternatively you can rotate the screen with libinput:
ATTRS{name}=="Intelligent Agent CDC and Digitizer", ENV{LIBINPUT_CALIBRATION_MATRIX}="0 1 0 -1 0 1"
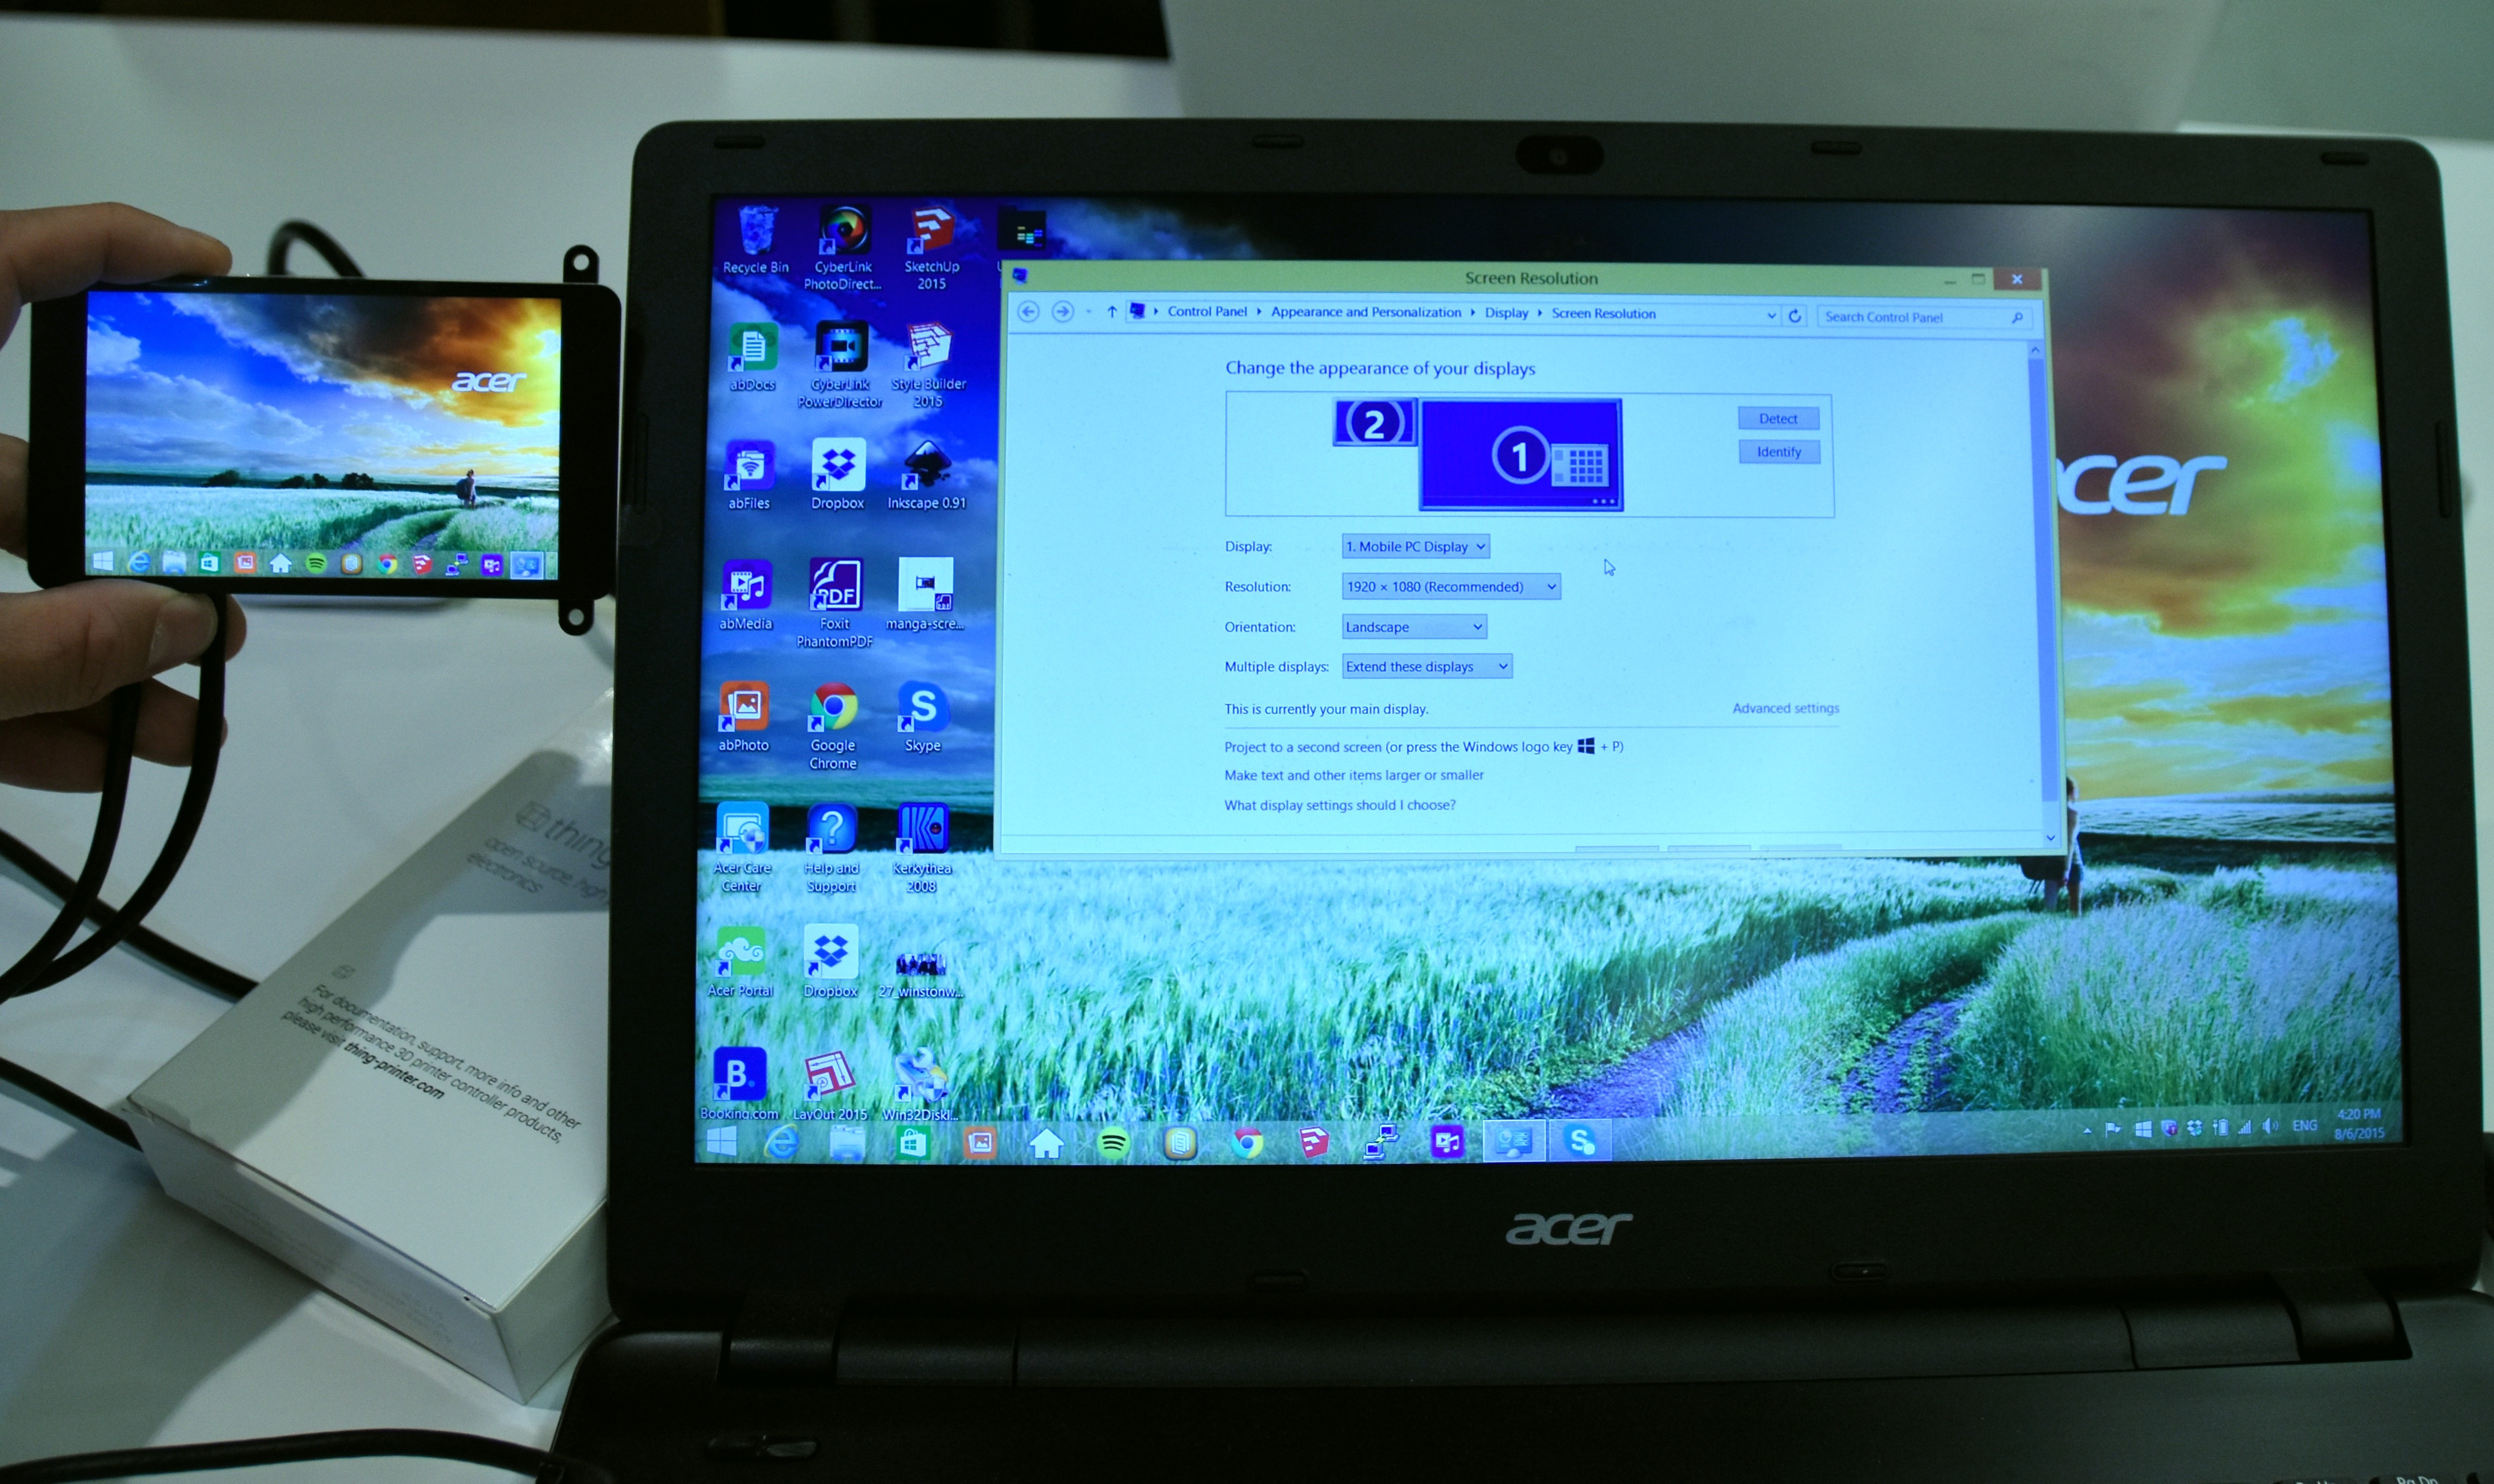
Windows
It's only been tested in Windows 8. Just connect it, choose "extend desktop" and then you should be able to choose rotation. On my computer, the touch functionality works out of the box, but I guess only as good as it does in Windows. I haven't tried playing around with it too much, but the mouse moves along with my finger. <img src="http://www.thing-printer.com/wp-content/uploads/2015/08/Use-in-windows.jpg" style="width: 600px; display: block; margin-left: auto; margin-right: auto; ">
Omxplayer
Using omxplayer as one would usually do in raspberry with the screen rotated 90 or 270 degrees will result in the video output to be stretched in portrait mode even when the rotation remains correct.
So the video ends up being a vertical rectangle in the middle of the screen.
To make the video all stretched you must use:
omxplayer --win 0,0,800,480
Thanks to Eric Castro for this useful tip!
Linux users
I want to rotate the screen in X11
On BBB, to rotate the screen, make sure you are using the fbdev driver for X11.
opkg install xf86-video-fbdev
Then you can edit
nano /etc/X11/xorg.conf
Your "section Device" should look like this:
 Section "Device"
       Identifier "Builtin Default fbdev Device 0"
       Driver "fbdev"
       Option "Rotate" "CCW"
 EndSection
You do not have to restart after that, just write:
systemctl restart gdm
I want to rotate Tux
When Linux boots, Tux (the penguin) is shown in the top left corner. If you want him to sit the right way, you need to edit the uEnv.txt file. This also rotates the command line interface:
Mount the eMMC card:
 mount  /dev/mmcblk0p1  /media/BEAGLEBONE
 nano  /media/BEAGLEBONE/uEnv.txt
Add this to the kernel command line:
fbcon=rotate:3
Adjusting things
When plugged in the screen should enumerate as a mixed device, both a touch device and a serial device. The touch device will provide the touch screen data and the serial device can be used for controlling stuff on the screen.
To get a list of commands, write
help
Brightness
For the first and second batch of screens, the feedback on the command line utility is disabled, so nothing appears when typing. Bummer! To adjust the brightness, do this:
sudo minicom -b 115200 -D /dev/ttyACM0
Make sure hardware flow control is set to OFF in minicom. Backlight is adjusted from 1 to 255.
set backlight 1<enter>
This should put the backlight at the lowest.
Right now there is no way to save that setting. It should be possible and actually fairly easy to save it to EEPROM on the Atmega chip and read back on start-up, but I haven't gotten around to it yet.
UPDATE: The latest Manga Screen firmware has EEPROM support, so brightness is saved even though power is lost.
Digitizer rotation
There is an experimental thing for changing how the coordinates of the digitizer / multi touch thing is sent. Try different combinations of 0 to 6:
config_xy 1
0: Normal both for X and Y.
1: X is reported inverted, so 480-X
2: Y is inverted, so 800-Y
3: Both X and Y are inverted.
4: X and Y switched, so X is reported as Y.
5: X and Y switched and Y inverted, so X is reported as 800-Y
6: X and Y switched and X inverted, so Y is reported as 480-X
Most users will not need to touch this, and is only meant to serve as a crude debugging tool for experimental window handlers and barebone installations.
Descriptor configuration
Windows, for some reason, is very picky about the device report descriptor, that is the specification of how the touch data is transferred. The only workaround that has been found is to specify that the touch screen is instead a digitizer (in accordance with the USB HID usage documentation).
Therefore, to use Manga Screen with Windows, you have to choose digitizer as descriptor. Here is an example of setting the config to 0:
config_descriptor 0
0: Touch screen normal
1: Touch screen inverted max values for X and Y
2: Digitizer normal
3: Digitizer inverted max values for X and Y
There are quite a few options to get both descriptor and rotation right, so it takes some trial and error. For Windows 10 on Intel NUC with the screen oriented as "landscape flipped",
config_descriptor 3
config_xy 6
For BeagleBone Black with Kamikaze, use:
config_descriptor 0
config_xy 3
Firmware stuff
Manga Screen has been designed to be easily reprogrammed. All software and hardware is open source and available from the repository.
In order to re-flash the firmware, press the button marked "reset" on the back of the board. The LED should go out. Now the Atmega 32U4 is ready to be flashed via the USB.
On Linux, you can use the dfu-flasher. Here is the starting point for flashing the firmware: https://bitbucket.org/intelligentagent/manga-screen/src/bdc3b33052ef44400ec05f0d69aa173c19f215c3/touch/Atmel/Atmega32U4/LUFA-130303/Projects/MangaScreenRevA4/?at=master
First install the necessary packages:
sudo apt-get install dfu-programmer avr-libc
To compile the firmware:
make
And then to upload the firmware (after you have pushed the only button):
sudo make upload
Uploading EDID
The Manga Screen, like any other HDMI/DVI/VGA screen uses Extended Display IDentification (EDID) to identify to the host. There is no picture scaling on the chip, so it tries the best it can to force the native resolution of 480 x 800.
EDID is implemented (on all screens) through an EEPROM chip with an I2C interface, so it can be read and written through dedicated wires running through the HDMI cable. It is always on address 0x50, but the i2c controller it is on varies.
If you want to update this EDID, most computers will allow you to do that. Upgrading the EDID on BeagleBone Black is currently not possible due to the limitations of the HDMI framer chip.
However, on Raspberry pi, it can be done. What you need is a modern kernel. Here is how you upgrade to the latest kernel: https://www.raspberrypi.org/documentation/linux/kernel/building.md
Then you need to enable i2c2, which is the controller for the i2c-controller connecting to the interface on the HDMI cable. Have a look at Adafruits instructions: https://learn.adafruit.com/adafruits-raspberry-pi-lesson-4-gpio-setup/configuring-i2c
And also add this to the end of /etc/config.txt
dtparam=i2c2_iknowwhatimdoing
Then i2c-2 should show up in /dev. Check that it is detected by writing:
sudo i2cdetect -y 2
The files for rebuilding the EDID dat file, reading it and writing it is in the Manga Screen repository. You also need these apt packages:
sudo apt-get install read-edid python-smbus
pi@raspberrypi ~/manga-screen/edid $ make get_edid
sudo ./edid-rw/edid-rw 2 | parse-edid
parse-edid: parse-edid version 2.0.0
parse-edid: EDID checksum passed.

	# EDID version 1 revision 3
Section "Monitor"
	# Block type: 2:0 3:fc
	Identifier "Manga Screen"
	VendorName "IAG"
	ModelName "Manga Screen"
	# Block type: 2:0 3:fc
	# Block type: 2:0 3:fd
	HorizSync 42-67
	VertRefresh 55-65
	# Max dot clock (video bandwidth) 30 MHz
	# Block type: 2:0 3:fe
	# DPMS capabilities: Active off:yes  Suspend:yes  Standby:yes

	Mode 	"480x800"	# vfreq 60.614Hz, hfreq 49.219kHz
		DotClock	25.200000
		HTimings	480 485 491 512
		VTimings	800 803 806 812
		Flags	"-HSync" "-VSync"
	EndMode
	# Block type: 2:0 3:fc
	# Block type: 2:0 3:fd
	# Block type: 2:0 3:fe
EndSection
Attributions
The firmware in Manga Screen relies heavily on LUFA by Dean Camera, having the MIT license. The latest firmware has CLI tab functionality and history thanks to the great microrl library by Eugene Samoylov aka Helius: https://github.com/Helius/microrl