Manga Screen 2
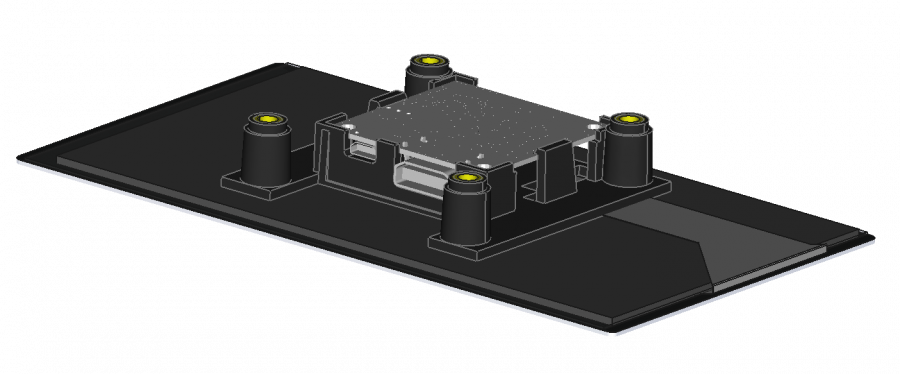
Manga Screen 2 is an LCD screen with a capacitive touch panel and an HDMI input.
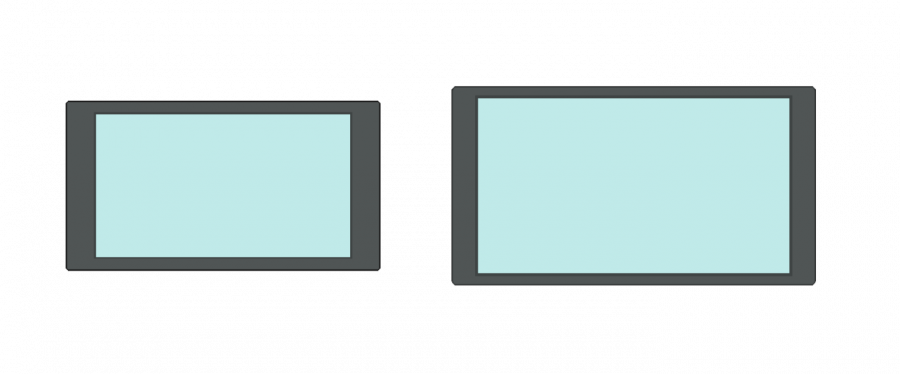
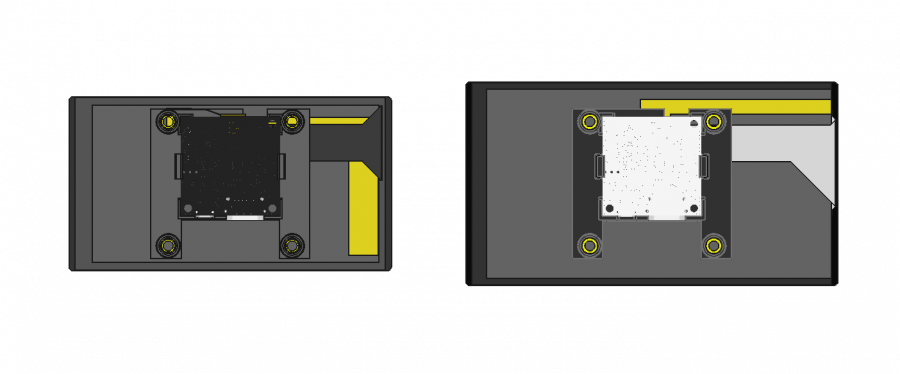
It comes in two versions: Big, 5.9", 1080p Small, 4.8", 720p
If you have a Beaglebone black, a Raspberry Pi or on Odroid or any other embedded or personal computer with a DVI or HDMI output, you can attach a Manga Screen to it and it will work like a normal screen.
The resolution is high for such a small screen with 1080x1920 (Full HD) and the capacitive touch screen driver used is the fabulous Synaptics S3202.
Here are some tech specs for both screens
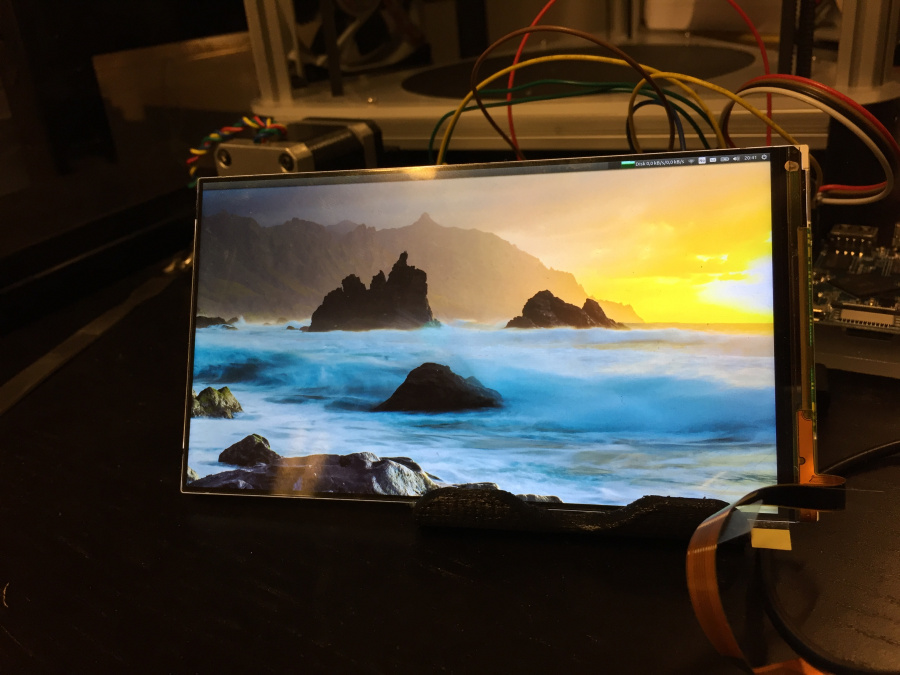
Here is a picture of the first working prototype
Where to buy
It's currently available for purchase from thing-printer.com
Cables
HDMI
The HDMI connector on the screen is a type A (regular) https://en.wikipedia.org/wiki/HDMI#Connectors
USB
The USB connector on the screen is of type micro. It can be purchased in just about every Cheap Charley like store.
Getting started
Raspberry Pi
Manga Screen Rev B has been tested on Raspberry pi 1, 2 and 3. Raspberry Pi will not accept the EDID with the right resolution, even if it is the same as the resolution forced by taking it from the config file. Raspberry Pi works great with 60 FPS though.
Screen rotation and frame rate
If you have a Raspberry Pi, you will need to override the settings manually to get the right rotation and resolution. Look at the config page for Raspberry Pi, the section called "custom mode" for HDMI: https://www.raspberrypi.org/documentation/configuration/config-txt.md
Edit the config file:
sudo nano /boot/config.txt
Add this to the end of it:
hdmi_group=2
hdmi_mode=87
hdmi_timings=1080 1 100 10 60 1920 1 4 2 4 0 0 0 60 0 144000000 3

max_framebuffer_width=1920
max_framebuffer_height=1920

display_rotate=1
The format of the above line is as follows:
hdmi_timings=<h_active_pixels> <h_sync_polarity <h_front_porch> <h_sync_pulse> <h_back_porch> <v_active_lines> <v_sync_polarity> <v_front_porch> <v_sync_pulse> <v_back_porch> <v_sync_offset_a> <v_sync_offset_b> <pixel_rep> <frame_rate> <interlaced> <pixel_freq> <aspect_ratio>
For the MS2 small you can use the following timings. 57 Hz is the maximum according to the LCD datasheet, but 60 Hz is also included and works fine:
hdmi_group=2
hdmi_mode=87
hdmi_timings=720 1 393 7 14 1280 1 4 2 4 0 0 0 57 0 83000000 3
#hdmi_timings=720 1 393 7 14 1280 1 4 2 4 0 0 0 60 0 87000000 3 # 60 FPS
#hdmi_timings=720 1 393 7 14 1280 1 4 2 4 0 0 0 30 0 44000000 3 # 30 FPS
#hdmi_timings=720 1 393 7 14 1280 1 4 2 4 0 0 0 30 0 35000000 3 # 24 FPS

display_rotate=1
To check that the right resolution is used, check the output from the tvservice program:
~$ tvservice -s
state 0x120006 [DVI DMT (87) RGB full 16:9], 720x1280 @ 57.00Hz, progressive
Touch panel rotation
The touch panel is rotated 180 degrees compared to the LCD, so you need to add a rule to udev to rotate it back:
sudo nano /etc/udev/rules.d/99-manga.rules
Add this:
ACTION=="add", ATTRS{name}=="Intelligent Agent AS Manga Screen 2", ENV{LIBINPUT_CALIBRATION_MATRIX}="-1 0 1 0 -1 1"
BeagleBone Black
Works with resolution 1088 x 1920. Note that the x-resolution needs to be a multiple of 16. The remaining pixels will disappear into the vertical back porch.
I want to rotate Tux
When Linux boots, Tux (the penguin) is shown in the top left corner. If you want him to sit the right way, you need to edit the uEnv.txt file. This also rotates the command line interface:
nano /boot/uEnv.txt
Add this to the kernel command line:
fbcon=rotate:3
Android
To rotate the screen:
settings put system accelerometer_rotation 0
settings put system user_rotation 3
Odroid
Seems to work fine out of the box with Odroid C2 both using latest Ubuntu and Android. Resolution can be grabbed from EDID.
Linux users
Typically, the touch input is mapped to the main screen. To map the touch panel to the screen in X, use following command:
xinput map-to-output <device_nr> <output>
To list the input sources for X, use the following command:
xinput --list
To list the output sources, use the following commands:
xrandr
To rotate or invert axes in an X based server:
pi@prompt:~ $ DISPLAY=:0 xinput --list
⎡ Virtual core pointer                    	id=2	[master pointer  (3)]
⎜   ↳ Virtual core XTEST pointer              	id=4	[slave  pointer  (2)]
⎜   ↳ Intelligent Agent AS Manga Screen 2     	id=6	[slave  pointer  (2)]
pi@prompt:~ $ DISPLAY=:0 xinput set-prop 'Intelligent Agent AS Manga Screen 2' 'Evdev Axes Swap' 1
pi@prompt:~ $ DISPLAY=:0 xinput --set-prop 'Intelligent Agent AS Manga Screen 2' 'Evdev Axis Inversion' 1 0
Testing with tslib
TSlib is a great program for testing the screen and making sure the touch and multi touch is working as expected. Please note that there seems to be a delay in updating the position on the long side. Not sure why this is happening, but its seems to be due to some filtering happening.
Adjusting things
When plugged in the screen should enumerate as a mixed device, both a touch device and a serial device. The touch device will provide the touch screen data and the serial device can be used for controlling stuff on the screen.
To get a list of commands, write
help
Brightness
printf "\r\rbacklight 100\r" > /dev/ttyACM0
Digitizer rotation
DISPLAY=:0 xinput set-prop "Intelligent Agent AS Manga Screen 2" "Coordinate Transformation Matrix" 0 -1 1 1 0 0 0 0 1
Uploading EDID
EDID is bundled with the firmware and can not be updated on MS2.
Files
https://www.dropbox.com/sh/q73nyea67a8h55g/AAB-XySmhrjl8W3W276NMPOaa?dl=0


