Reflash v1.0.1
Reflash is a Linux image for downloading and installing Rebuild and Refactor images on Recore. You can also create an image from the contents of the eMMC.
Contents
Note on v1.0.0
Reflash v1.0.0 marks a big change from software switching of boot medium to always booting to Reflash/USB drive if the USB drive is present. For older versions of Reflash: Reflash_v0.1.2
Entering FEL mode
The first time you use Reflash 1.0.0 and above, you need to boot to Reflash using FEL-mode. Hold the FEL button on the board down and press the RST (reset) button. You need to have a USB C cable connected between the USB C connector on Recore and a host computer.
You should see the board show up as a USB device:
lsusb
Download the Recore git repository. On the command line write:
wget https://github.com/intelligent-agent/Recore/raw/master/binaries/Recore-fel.zip
unzip Recore-fel.zip
Install the sunxi-tools package on the host computer:
sudo apt install sunxi-tools
Now you can run the whole command on a shell.
sudo sunxi-fel -v -p spl fel/sunxi-spl.bin write 0x44000 fel/bl31.bin write 0x4a000000 fel/u-boot.bin reset64 0x44000
On the host computer, you should see the binary files being uploaded like the following:
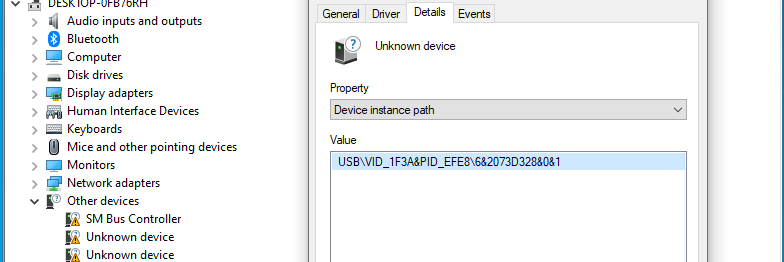
- Open Device Manager and check that the device shows up. It might not have a known vendor and product description.
- Download the Recore repository and extract the contents.
- Download sunxi-fel binary for windows and extract the contents so it is the the Recore-master folder.
- Download and install Zadig https://linux-sunxi.org/FEL/USBBoot#Using_sunxi-fel_on_Windows
- Open the CMD prompt and navigate to the extracted Recore folder.
- Insert the USB drive with Reflash 1.0.0 (See instructions further down)
- Run the following command from the Recore folder:
(prefix) sunxi-fel.exe -v -p spl binaries\new\sunxi-spl.bin write 0x44000 binaries\new\bl31.bin write 0x4a000000 binaries\new\u-boot.bin reset64 0x44000
After running that command, you should see the SPL and u-boot being transferred and the board should start to boot from the USB drive.
Instructions
This page has step-by-step instructions for using the image. Here is what you should do:
-
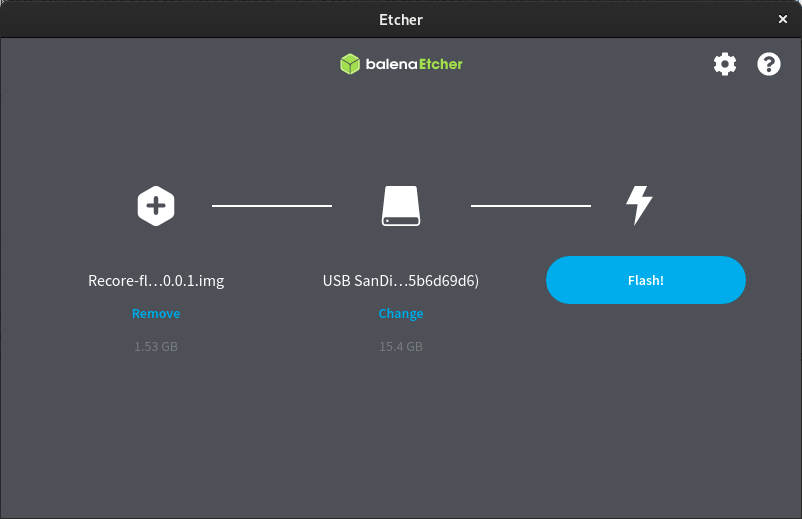
Use Balena Etcher to download and flash the Reflash image. Here is the URL to the image:
https://github.com/intelligent-agent/Reflash/releases/download/v1.0.1/reflash-v1.0.1.img.xz
You can also download it form here: https://github.com/intelligent-agent/Reflash/releases/tag/v1.0.1
- After flashing the image to a USB drive with at least 4 GB of storage, eject the USB drive properly and insert it in a USB port on the Recore board.
- If you want to get back to Reflash from Rebuild or Refactor, you can do so by having the USB drive inserted during boot. A reboot can be done from Mainsail, Fluidd or OctoPrint.
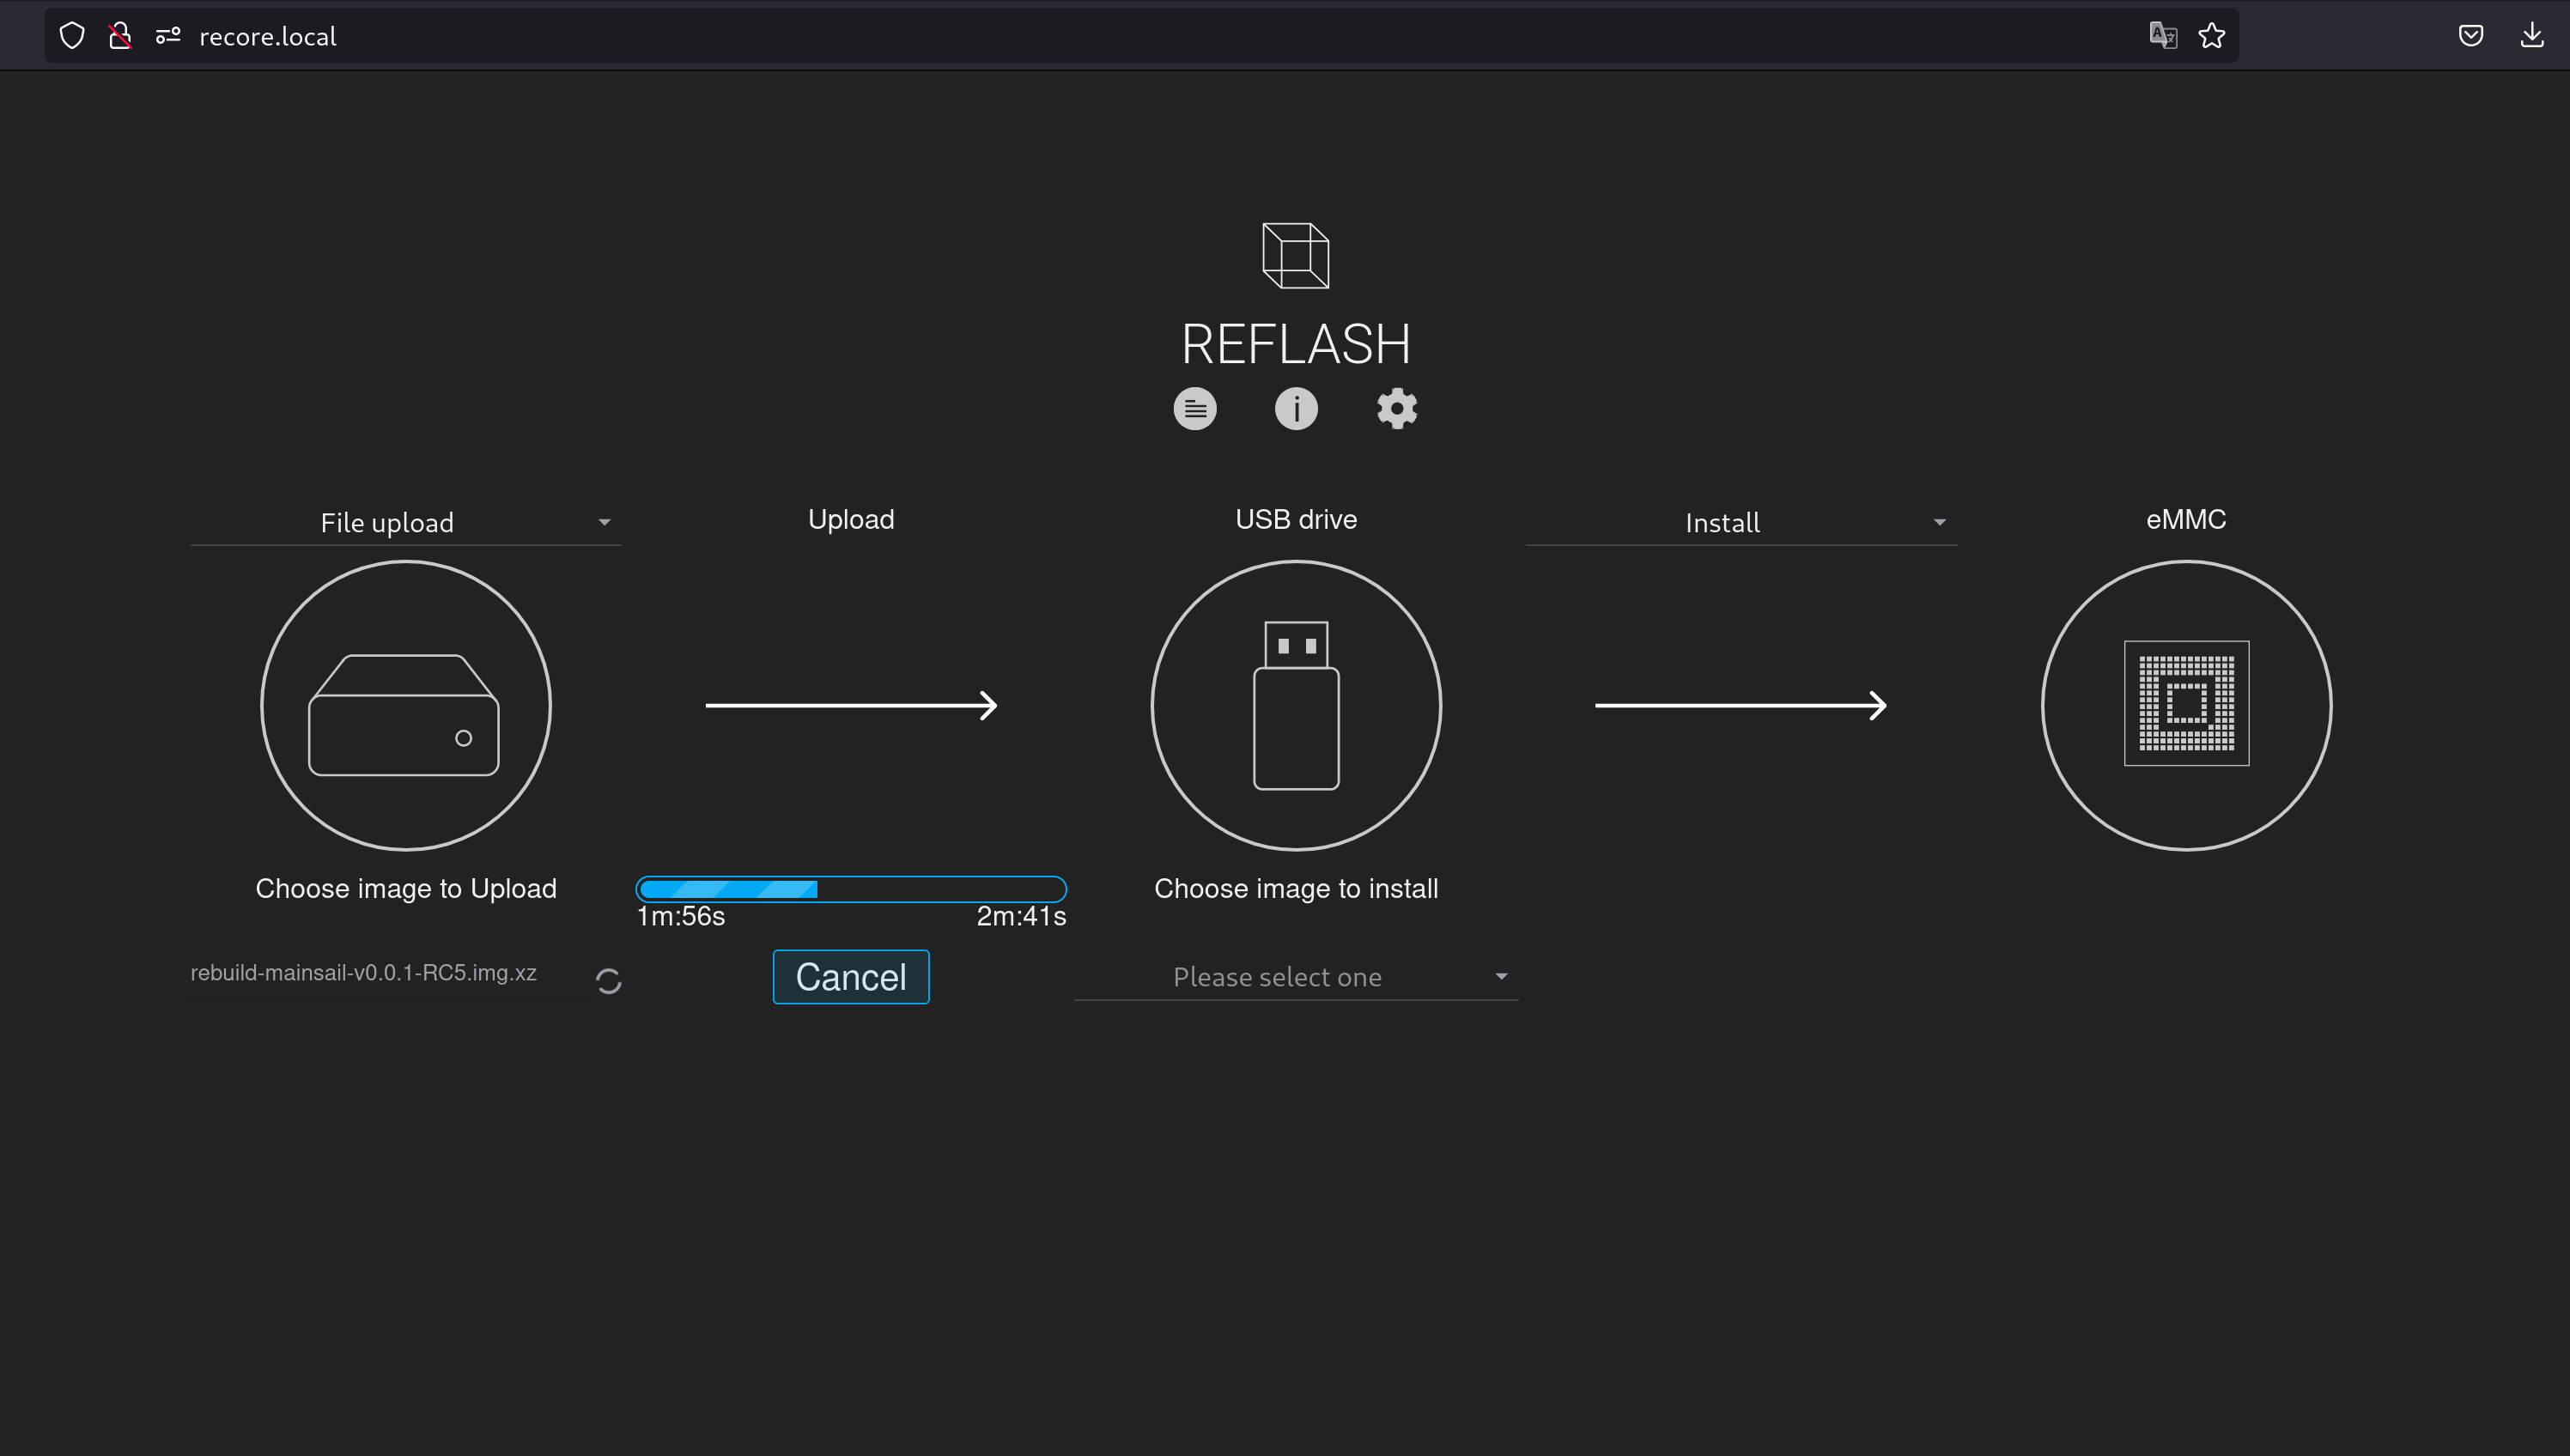
- Once the board has booted from USB, you should be able to access the web interface using the address http://recore.local
- From the web interface, choose witch version of Refactor/Rebuild you want to download. There are two types of images, either with OctoPrint as the web interface, with Mainsail or with Fluidd. You can also choose to upload a custom image using the "Upload file" option.
- Once the image has been downloaded (to the USB drive) you can install/flash the image to the eMMC. This will take 3-4 minutes.
- Once the image has been flashed on the eMMC drive, you can reboot the board, and it will boot using the Refactor image that you chose.
You can keep the Reflash USB drive in a safe place and reuse it the next time you want to upgrade the software. If you want to upgrade to a later version of Refactor, the same image can be used again.
Note
It is possible to log in to the Reflash image for manual operations. The SSH access is available using username debian and password temppwd
Reflash image
Reflash is an initRamFS Linux image. That is in order to completely remove the boot medium before a reboot occurs. Because of that, Reflash needs to be very small. The application is built in Go witch makes it stand alone with very little dependencies. The Network management is handled by systemd-networkd and systemd-resolved. Very few extra programs are installed, and any additional programs that gets installed will be lost after a reboot. SSH is enabled for user debian with password temppwd. The kernel is 5.15.127.
Known issues
Flash progress not showing any progress
Sometimes the flashing process does not work as expected. There is no progress on the progress indicator and the flashing never completes. A workaround is to go back to step 1 and install Reflash again.


